반응형

📝다크모드 적용시키기 (tailwind.config.ts)
const config: Config = {
  ...
  darkMode: "media",
  plugins: [],
  ...
}
export default config


...
<div className="bg-red-500 dark:bg-blue-800">
    Testing Dark Mode
</div>

// darkMode: "class"
// darkMode: "media"
tailwind.config.ts에서 darkMode를 media로 설정시 dark: 라고 적은 CSS가 우선이 된다 (default : class)
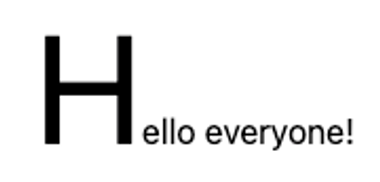
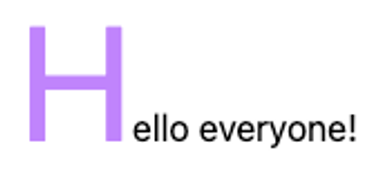
📝사용자 임의 값을 넣기
<span className="text-[1200px]"> Hello </span>- [${원하는 값}]을 이용해 넣을 수 있다
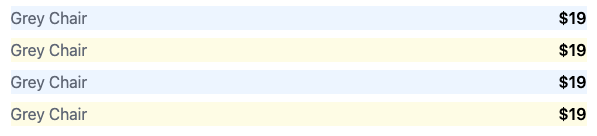
📝Flex Box
<!-- 같은 크기로 나눈다 -->
<div>
	<div className="flex">
		<div className="flex-grow">
		<div className="flex-grow">
	</div>
</div>

<!-- 같은 크기로 나누지 않고 같은 row에만 둔다 -->
<div>
	<div className="flex">
		<div className="flex-col">
		<div className="flex-col">
	</div>
</div>
bootstrap의 row는 flex와 동일하게 적용되며 col의 경우는 flex-grow이다
반응형
'[Tailwind]' 카테고리의 다른 글
| [Tailwind] 테일윈드 배열 원하는 곳에 CSS 적용, 배열 빈 값에 CSS 적용, 문자열 일부분 CSS 적용, 반응형 크기별 CSS 적용, 반응형 모바일(가로, 세로) [3.4.1 version] (0) | 2024.03.20 |
|---|---|
| [Tailwind] 테일윈드란?, React Tailwind 적용시키기 [3.4.1 version] (0) | 2024.03.20 |